The Flying L-Sit Pose is very difficult to execute in yoga and gymnastics. This pose examines and checks on the strength of the participants and their balance.
For the first time, it is a bit difficult for many people. However, crunchy, with time, it can be improved and even achieved.
In terms of muscles, this posture primarily helps strengthen the core and the arms. Furthermore, it promotes focusing.
It seems like it demands an infinite amount of time and patience to accomplish, but the rewards are worth it. We are going to discuss here how to perform L-Sit Pose safely and effectively.
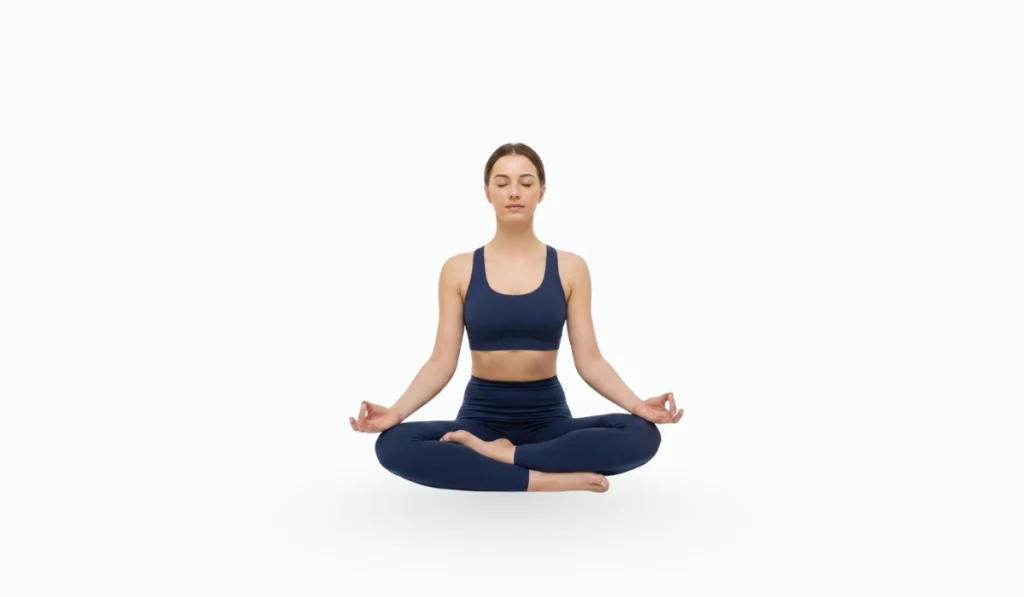
What is Flying L-Sit Pose?
Flying L-Sit Pose is an advanced yoga pose for which the body is off the ground using only one’s own arm force.
Legs should be straight out. It looks like an “L” shape. To sum up, this asana requires a lot of power from the arms, core, and focusing.

How to Prepare for Flying L-Sit Pose?
1. Build Core Strength
Planks in addition to the parts of the core as well as sit-ups will help to strengthen your core.
2. Improve Arm Strength
While push-ups are the first thing to do for arms, there are also other options like dips to build them up as well.
3. Increase Flexibility
Every day without any interruption stretch the area of your hamstrings and hip flexors.
4. Practice Balance
Try to stand on one leg for 5 minutes to improve the balance.
5. Mental Preparation
Deep breathing will help you stay calm and focused.
Warm-Up Exercises for Flying L-Sit Pose
- Arm circles- Raise your arms sideways and then draw the circles.
- Leg swings-Swing your legs up and down.
- Cat-cow stretches-Alternate between cat and cow yoga poses.
- Downward dog-Thrust your hip up and your heels down as you do the same thing with your hands.
- Plank holds-Can be done with one arm, not the two-armed version.

How to Perform Flying L-Sit Pose?
1. Sit down on the floor and spread your legs.

2. Your hands must be placed on the floor near your hips.

3. Press with your hands and lift the hips slowly off the floor.

4. Keeping your arms straight, and to keep your legs stretched out is the right way to do it.

5. Firm your stomach and inhale and exhale.
Here’s a video that explains this yoga pose in more detail.
Benefits of Flying L-Sit Pose
- Enforces Core.
- Boosts Arm Power.
- Enables Balancing.
- Intensifies Focusing.
- Awakens the body awareness.
Beginners Tips
- In the beginning, try it with a bent knee and then slowly straighten it.
- Use yoga blocks if it is required to find balance.
- Practice it regularly.
Variation and Modifications
1. Tucked L-Sit
For beginners, try keeping your knees close to your chest. This will bring a sense of gentleness to the seekers as they begin the journey of full/budging.
2. One-Legged L-Sit
This is another step from the tucked L-Sit. You also have the possibility to start your leg from the position.
3. Elevated L-Sit
One may take parallel bars or chairs. Then by lifting the body to a higher level by using these tools, one’s body strength can be improved, so it is useful for beginners.
4. V-Sit
Tuck legs into a V shape above the head. This is a more advanced skill, and you will need more of your hip flexor and core muscles to achieve it.
Expert Tips
- Do not be tense with the shoulders.
- Keep the toes pointed.
- Engage the core fully.
- Make practice an everyday thing.
Safety Precautions
- It is important to warm up properly before doing any physical activities to loosen up your muscles and prevent injuries.
- Listen to your body – You should be aware of how you are feeling when you workout because overexertion can result in something being overlooked.
- Use a soft surface – So that the forces get absorbed thus lesser pressure is exerted on the involved muscles or bones.
- Setting a target in the very first try. The warm-up is also crucial to prevent the heart and the muscles from becoming stiff and to avoid the waste of energy due to the tightness.
Common Mistakes To Avoid
- Rounding the back – To keep the back flat and in a good position, the trunk muscles and the transverse abdominis should be strengthened.
- Bending the arms – Ensure proper form by maximizing your trunk stability to avoid any severe back problems.
- Ischeal Tuberosites – This is the type of modification that holds the breath and has a huge flow of energy due to the deep and fast breaths.
The vast amount of detail in electronics such as transistors or circuits must be given by typing too fast.
VeryFit Life Final Words
The Flying L-Sit Pose is a challenging yet rewarding exercise. It requires patience and consistent practice. Remember to progress slowly and safely.
With time and dedication, anyone can master this impressive pose. Always prioritize the proper form of execution and safety while working through your physical goals.
FAQs
1. How long should I hold the Flying L-Sit Pose?
Start with 5-10 seconds and gradually increase the duration as you get stronger.
2. Can beginners attempt this pose?
Does that mean you are a beginner? In such case, you are to start with the whole host of other preparatory exercises and after a while try the whole asana.
3. How often should I practice Flying L-Sit Pose pose?
Practice 2-3 times a week, allowing rest days for muscle recovery.
4. Are there any contraindications for this pose?
It is always best to consult your doctor before engaging in physical activity, it is your health we are talking about.
Moreover, individuals who have problems in any of the aforementioned body parts must visit a professional such as a doctor that knows how to conduct these movements smoothly.
Sources:
Kassel, G. (2024, August 5). How to do an L-Sit (and why you should). Shape.
Tracey, A. (2024, October 10). How to do an L-Sit: Benefits, muscles worked, regressions and variations. Men’s Health.
How to do L-Sit – OmStars. (n.d.).