Hey! My name is Elyce Elowen, and I’m a certified yogi who has been practicing and teaching yoga for the last few years.
Do you need help getting more out of your yoga practice? You may be looking for something new and fun because traditional poses can get boring after a while.
This blog post will show you how to do the Plank Pose Yoga correctly, giving tips on changing things along the way.
This pose will build your body, help you stand up straighter, and improve your yoga practice. Let’s get started and learn more about plank yoga pose!
What Is a Plank Pose?
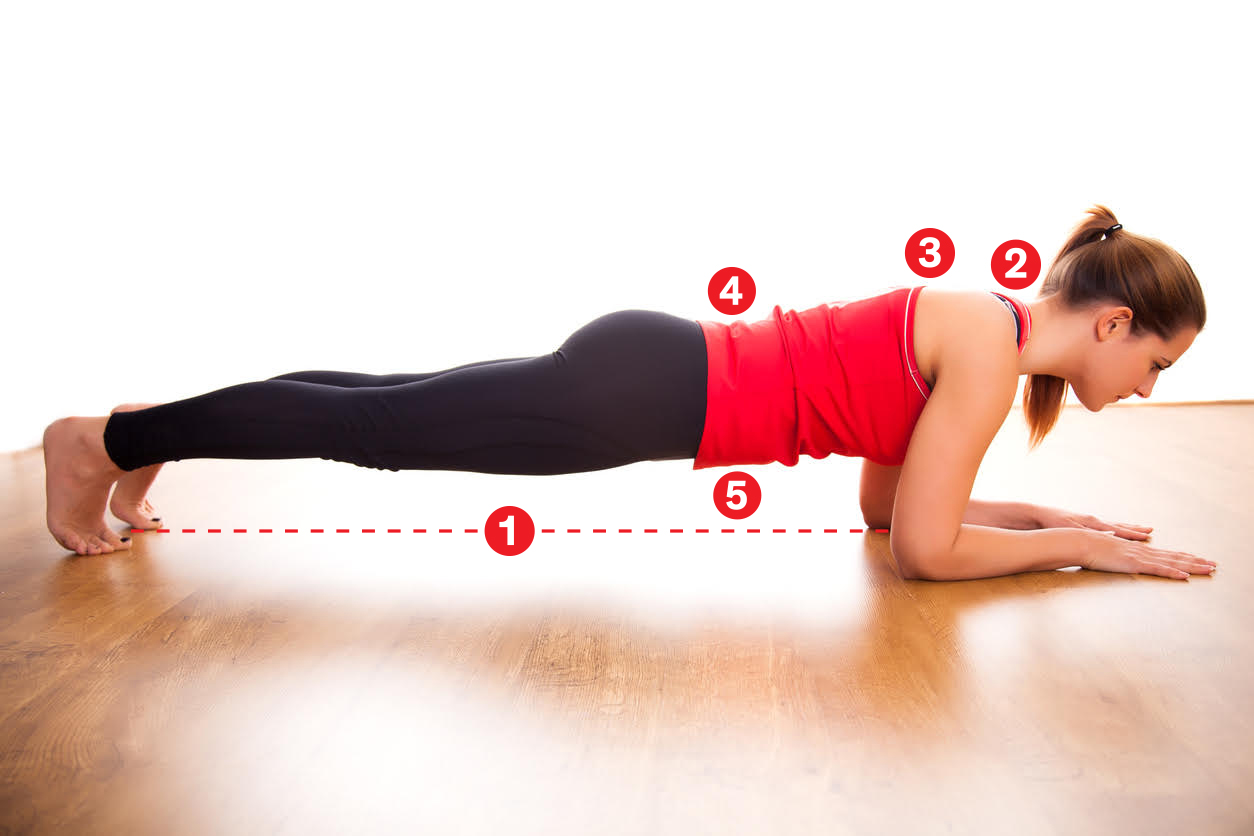
In Sanskrit, Planking is called Kumbhakasana (koom-bahk-AHS-uh-nuh). planking holding your body off the ground, a plank balances on your toes and forearms.
Your head, chest, and legs lineup; your spine is straight. Since maintaining your core muscles clenched in one position, planking is an isometric workout.
How to Prepare for Plank Pose?
- Choose a Comfortable Spot
- Wear the Right Clothes
- Warm Up Your Body
- Start in a Tabletop Position
- Spread Your Fingers
Warm-up Exercise for Plank Pose
- Downward-Facing Dog
- Mountain Pose
- Boat Pose
- Cat-Cow Stretch
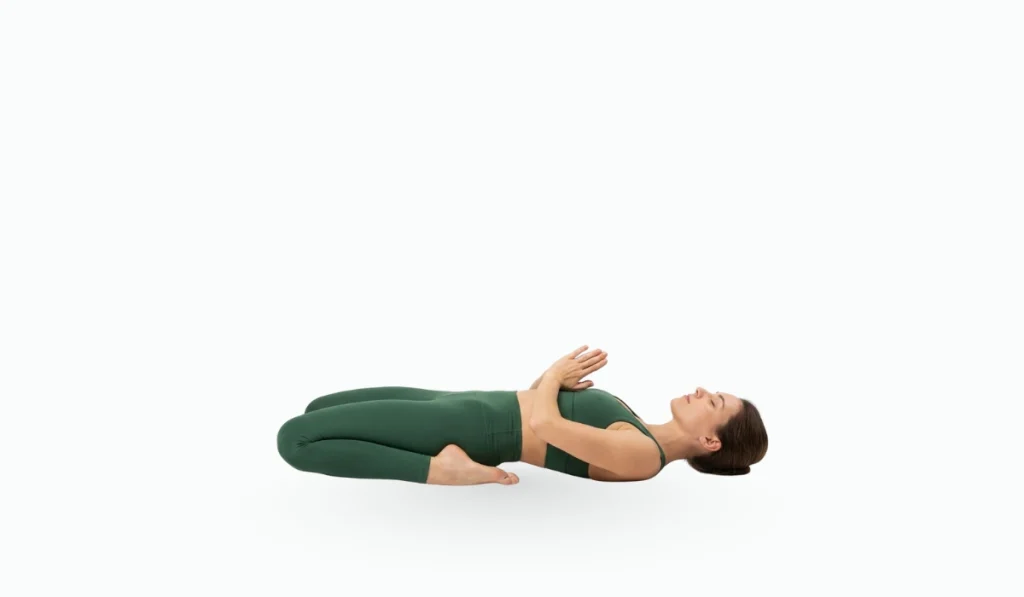
How to Perform Plank Pose Yoga

- Start at Tabletop. Breathe and open the chest into a Cow tilt by extending the sternum away from the navel.
- Maintain this intention and exhale while doing just enough Cat tilt to tone the lower belly and eliminate the lower backbend.
- Return your feet and straighten your legs after remembering this Cat/Cow tilt.
- Lift the tops of the thighs to the sky and lower the tailbone to the floor to tilt your posterior pelvis and compact your center.
- Your lower tummy should support your lower back like a tray.
- Stretch your sternum forward and drive your heels back to maintain abdominal tone.
- Build to 1-minute holds.
“Here’s a video that explains this yoga pose in more detail.”
Benefits of Plank Pose
Physical Benefits
- Builds core, arm, and shoulder strength
- It helps with balance and posture
- Tone muscles in the back and stomach
- It makes your arms and toes more flexible.
Mental Benefits of Plank Pose
- It lessens worry and stress
- It helps you concentrate and think clearly
- Makes you more disciplined and tough
- Encourages being aware during practice
Beginner Tips
When you do this pose for the first time, your hips might lift or fall. Between the shoulders and the feet, try to keep them straight. That’s not possible? Then bend your knees and shoot for the long line that goes from your knee to your shoulders and through your neck and the crown of your head.
Variations
1. Double Plank Pose Yoga
In it, one partner supports himself or herself on their forearms and toes while the second partner moves above him or her on the back or legs based on the type of exercise.
How to Perform:

- Get into a strong forearm plank, keeping the body straight and core tight.
- Place hands on the base partner’s shoulders and toes on their hips or back.
- Adjust positions until steady, keeping the body aligned.
- Maintain for a few breaths, focusing on teamwork.
- Step off carefully and return to a resting position.
The double plank pose is an excellent way to achieve stability and strength in a core experience like no other.
2. Reverse Plank Pose
This is a kind of yoga posture, known as Purvottanasana which is aimed at working on your core, using your body weight.
How to Perform:

- To start the pose sit down with extended legs straight in front of you.
- put your hands back and place your palms on the floor, fingers pointing towards your feet.
- Keep your legs together, press your heels in the ground.
- Shift your weight on your hands and feet when you lift your hips upwards the ceiling.
- Your body should form a straight line from head to toes.
- If it is comfortable then let your head drop back or keep it neutral.
- Tighten your core to keep your body stable.
- Hold the pose for 10-20 seconds.
Take your exercise regime to the next level and try the Reverse Plank Pose for a strong core and back muscles
3. Side Plank
It is a Modern Balancing pose. Side plank is an effective body weight exercise that targets the muscles of the core, lateral abs, and shoulders.
How to Perform:

- Start with a plank pose by lying down and lift your body into a plank position.
- Keep your shoulders and hands align, your body in a straight line from head to toes.
- Shift your weight on the right hand and outer edge of your right foot.
- place your left foot on top of the right foot.
- Raise your left hand towards the ceiling, try to make a straight line with both arms.
- If comfortable, look at your raised hand, otherwise keep your head neutral.
- Tighten your body muscles for stability.
- Keep your hips lifted.
Try the Side Plank Pose and increase your core strength and balance.
4. Extended Plank
The Extended Plank is a creative twist on the traditional plank! When you stretch your arms out further in front of you, it makes your balance harder and strengthens your core, arms, and shoulders.
How to Perform

- Start in a plank position with your hands behind your shoulders and your body straight from head to heels.
- You should slowly move your hands a little farther in front of you and your arms out as far as they will go.
- Make your stomach muscles tight to keep your body straight and stable.
- Avoid hip dips and rises. Your body should be straight from head to heels.
Make your core workout more intense with the help of the Extended Plank Pose.
5. Plank With Arm Lift: Secure a chair on a mat or wall to prevent sliding. Face the chair and place your hands on the seat. Walk backward until your body is straight from feet to head. Lift your abs and point your tailbone to your heels.
6. Plank With Leg Lift: Move one leg 5–8 inches off the floor slowly. Let your leg fall slowly after counting of two. Switch legs again. Try two to three 10-rep sets for all Variations.
Discover the best Plank Pose Modifications that can be done by beginners, intermediate and advanced practitioners.
Safety and Precautions
If your shoulder hurts, you shouldn’t do planks. Stop the movement if your shoulder hurts. Most pregnant women can do planks without problems, but some might worry about putting too much stress on their belly walls. Change the plank and do an uphill plank or a side plank instead. Check with your doctor or physical trainer to ensure this is a good exercise.
Case Study:
My personal experience about this pose and also search on different forums. Reddit User (Thisguy419) While exercising, I paid closer attention to my pelvic posture and saw a significant change in how my muscles were activated. I’ve benefited from this Pose.For more knowledge visit Reddit
Common Mistakes
Don’t do these things if you want to get the most out of this exercise and keep yourself from getting hurt.
Putting too much weight on your arms: If you arch your back, you need to use your abs more and add to your weight on your arms. You should make sure that your shoulders are wide and down.
Losing your hips: Once your abs are too tired, your hips will start to sink. That means it’s time to stop your plank. If your hips are falling from the start, try having your feet a little farther apart and working on your abs.
Putting your head up: Your neck should be straight, not up. If it is, it could cause strain on your neck. Look at the floor with your eyes.
Source:
EkhartYoga. (2020, November 6). Plank Pose – Ekhart Yoga. Ekhart Yoga.
Clinic, C. (2024, September 9). Why you should start doing planks. Cleveland Clinic.