Are tight hips or back pain a common issue that you have to deal with?
They include problems that make what are considered normal movements painful and thus interrupt your normal life.
On top of this, sitting for several hours reduces the likelihood of stretching and feeling comfortable even more.
But what if one single pose of Yoga could act as the warm-up, a stretch, and the strengthening exercise all at once?
If this is the case then the Yoga Garland Pose (Malasana) could be the perfect exercise for you!
This effective and uncomplicated yoga squat helps you relieve tension in this area, correct your posture, and has other advantages.
Moreover, as a yoga practitioner myself I have noticed the positive effects of Malasana yoga on the practice and that is why it’s important in any session.
What is Yoga Garland Pose?
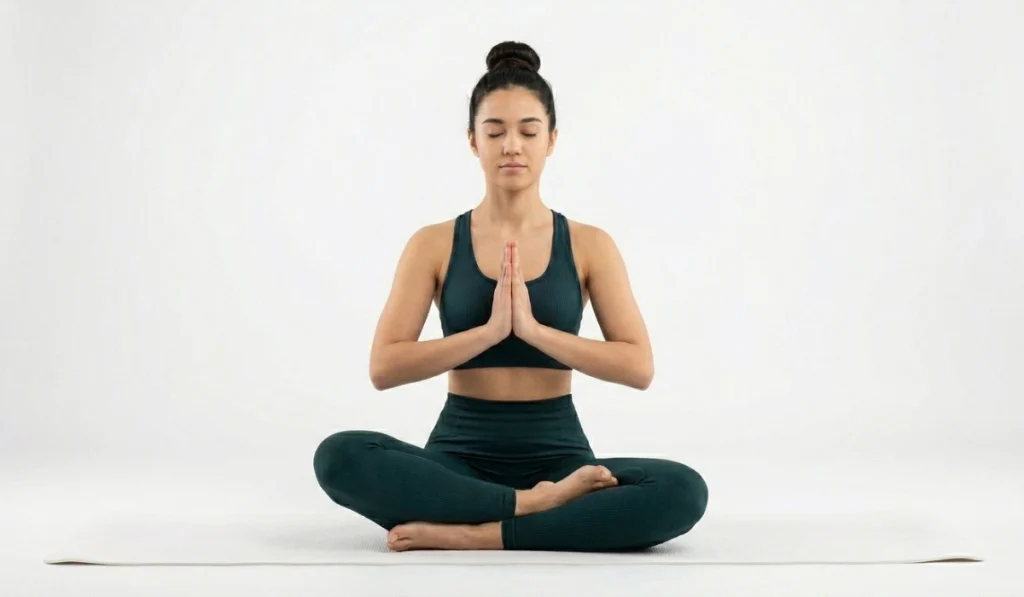
The Yoga Garland Pose is also called Malasana the yoga squat or the preparatory pose of the deep squat pose in which feet have to be placed parallel to each other and knees have to be bent.
It is very useful in stretching the hip, lower back, and groins at the same time as building your legs.
Malasana is different from a squat in which you put your palms together at the chest level and then fold your elbows against the knees to gain balance. [1]
How to Prepare for Yoga Garland Pose
If you want to derive maximum benefits out of the Malasana then you need to do it in the right way so that you do not hurt your muscles while doing the same.
Here’s a simple guide to help you get ready:
Choose a Comfortable Space: See that there is no noise around, enough space around the body, and no objects that are likely to interfere with the movements.
Warm-Up: Take a few minutes to walk around or perform a few stretches that will be beneficial to the leg, hips, and back muscles.
Use Props if Needed: If you cannot reach the ground with your heels use a yoga block or a folded blanket for needed support.
Stay Mindful: Keep your attention on your breath; try to remain completely relaxed and be intentionally present with your practice for the duration of the exercise.
The Art of Tiger Pose Yoga: Simple Steps for All Levels
Warm-Up Exercises for Yoga Garland Pose
These factors suggest that warming up is important before diving into Malasana.
Here are some gentle exercises to get your body ready:
- Joint Rotations: The next step involved some rotations on the ankles, knees, or hips if they had tightened up at all.
- Side Stretches and Forward Bends: These favor the opening of the sides of the body as well as the stretching of the hamstrings.
- Dynamic Lunges: First, before stretching your hips, try to warm up your legs.
- Cat-Cow Stretch: Relax that spine and get your back ready for more of a workout.
- Breathing Exercises: Breathe in oxygen slowly and deeply to help get more oxygen to your brain and to clear your mind.
Step-by-Step Guide: How to Become a Yoga Instructor
How to Perform Yoga Garland Pose

Here’s a step-by-step guide to performing the Yoga Garland Pose:
- Stand with Feet Apart: Start right feet, base your feet about as wide as the breadth of your hips.
- Bend Your Knees: Gradually fold on the knees and proceed to bring your hips down as you near the ground. You must make certain that your feet make contact with the floor.
- Bring Hands to Prayer: Standing with your feet shoulder-width apart, clasp your hands in prayer position at the center of your chest (Anjali Mudra) pull your elbows down so that you touch your knees lightly.
- Lengthen Your Spine: Push your breast bone up, engage your back muscles, and elongate through the top of your head.
- Hold and Breathe: Hold in this position for 5-10 minutes, breathing and going deeper in the squat as you comfortably can.
Benefits of Yoga Garland Pose
Mental Benefits
- Improves Focus: The duality and stability demanded of you allow you to focus and bring the mind’s clarity.
- Reduces Stress: Inhaling and exhaling and slow stretching in the Malasana pose decreased stress incorporated into one’s regular lifestyle.
Physical Benefits
- Hip Opener: Malasana yoga also decompresses the hip and lumbar area.
- Strengthens Legs and Ankles: This pose exercises the thighs, calf muscles, as well as ankles, helping to strengthen the muscles the longer you perform the pose.
- Improves Digestion: By holding such a position the deep squat benefits the abdominal muscles in terms of digestion.
Puppy Yoga: Boost Your Flexibility Fast!
Variations of Yoga Garland Pose
Supported Malasana: Don’t bend your knees if you have difficulty maintaining your heels on the floor; in this case, place a yoga block under your heels.
Wide-Legged Garland Pose: If you would like to make the stretch even more difficult, spread your feet out wider in order to achieve a deeper hip stretch.
Chair-Assisted Squat: If you are relatively new to spinning, then you might find holding onto a chair while doing it a good idea.
Modifications for Yoga Garland Pose
For beginners or those with limited flexibility, try these modifications:
Use a Block: Most importantly, make sure that one of the blocks will be located under you at the hip level to provide necessary support.
Elevate Heels: If your heels do not touch the floor, put a rolled-up towel or blanket underneath them.
Don’t Push Too Far: Never go too deep as much as your body would allow you to. In time you will add more flexibility to the joints and make it possible to go deeper into the squat.
Beginner Tips for Yoga Garland Pose
Start Slow: Do not try to place the heels on the ground on the first attempt that you make. Gradually work towards it.
Stay Balanced: Keep your core muscle overall and try to maintain your back upright so as not to slide.
Use Props: Using blocks or blankets can be handy in case you want additional support as you are flexible.
Expert Tips for Yoga Garland Pose
Focus on Breath: The appropriate way is to breathe deeply and steadily to find a comfortable position for the muscles and let the tension go.
Lengthen the Spine: Be conscious of the lengthening through the crown of the head to try and maintain a straight back.
Engage Core Muscles: This chucking adhere
s to stability and reduces the chances of lower back stress or strain. [2]
Safety Precautions
Don’t Rush the Stretch: Malasana is quite an intense pose so heed the warning and take things slow and cautiously.
Avoid Knee Strain: Sitting and keeping your knees over the tips of your feet also helps to reduce pressure on those joints.
Start with a Warm-Up: The first thing includes warming up. The muscles need to be warmed up to avoid straining them and pulling a muscle.
3 Person Yoga Poses: The Best Moves for Team Balance
Common Mistakes to Avoid
Hunched Back: See that there is an erect posture and not a hunchback.
Knees Collapsing Inward: Never lock your knees as your knees should always be positioned in line with your toes.
VeryFit Life Final Words
The Yoga Garland Pose is perfect for any kind of practice no matter if you’re just starting your yoga journey or have been practicing for years.
Physically you are able to decrease hip tension and all around, it will enhance your mental well-being and even your body posture.
In my opinion, by including Malasana in your asana practice you will see a major shift in your flexibility and strength.
Just to remind you that you are a unique and individual person, so go through it at a pace that you are comfortable with and do not concentrate on ‘the form’ yet.
Otherwise, if you want to get lasting results, just stick to the proper routine and be patient.
FAQ’s
Am I allowed to do Malasana if I have a knee problem?
Yes, but if you have the same problem, adjust the position of the pose by using a block under the hips, or not going down too far into the squat.
In performing the Yoga Garland Pose, if one should ask, how long is long enough?
If your flexibility is not very high begin with holding a stretch for 5 breaths and gradually increase it.
Is Malasana good for digestion?
Of course, doing the deep squat contributes towards digestion by simply putting mild pressure on the abdominal organs.
What should I do if I don’t even put my heels on the ground the next day?
You can use a rolled blanket or a yoga block under your heels until you can increase that flexibility on your own.
You need to understand that the information in this article has been compiled mainly from my practice and understanding of yoga and in particular the Yoga Garland Pose.
Source:
Yoga Journal. (2023, August 14). Malasana (Garland pose or squat).
Ryt, A. P. (2020, September 30). How to do garland pose (Malasana) in yoga. Verywell Fit.
Disclaimer: The content provided on this site is intended for informational and educational purposes only and is not a substitute for professional medical advice, diagnosis, or treatment. Always consult a qualified healthcare provider before starting any new exercise program, particularly if you have pre-existing medical conditions or concerns. The website and its creators are not responsible for any injuries, damages, or adverse effects that may result from using the information provided. Use of this website constitutes acceptance of these terms.